Sourdough baking has taken the culinary world by storm, offering both seasoned and novice bakers a chance to create delicious bread with unique tangy flavors. However, the road to mastering sourdough isn’t without its potholes. From neglecting your starter to misjudging proofing times, there’s a laundry list of pitfalls that can turn your bread dreams into a doughy nightmare. In this guide, we’ll walk you through the most common mistakes and how to sidestep them. Ready to take your sourdough game to the next level? Let’s dive in.
Table of contents
Introduction to Common Sourdough Mistakes
What Makes Sourdough Unique?
Sourdough bread stands apart from the rest thanks to its reliance on a naturally fermented starter instead of commercial yeast. This starter, a bubbling blend of flour and water, works its magic through wild yeast and bacteria. It’s a delicate process that rewards patience and precision.
But sourdough isn’t just about the science; it’s an art. Each loaf carries the signature of its maker, influenced by everything from the quality of ingredients to environmental conditions. Get it right, and you’ll enjoy a loaf with a golden crust, chewy texture, and a flavor that sings. Mess it up, though, and you’re left with flat, gummy, or overly dense bread.
Why Avoiding Mistakes Is Critical for Baking Success
Here’s the thing: sourdough is unforgiving when it comes to missteps. Small errors, like using the wrong type of flour or skipping critical steps like autolyse, can snowball into a series of problems. The result? Hours of hard work wasted on a loaf that’s barely edible.
Understanding what not to do with sourdough is just as important as knowing what to do. By learning to avoid common pitfalls, you’ll not only save yourself frustration but also master the craft faster. In this article, we’ll break down every stage of sourdough baking and highlight the don’ts that can derail your efforts.
Neglecting Your Sourdough Starter
Why Consistency in Feeding Is Crucial
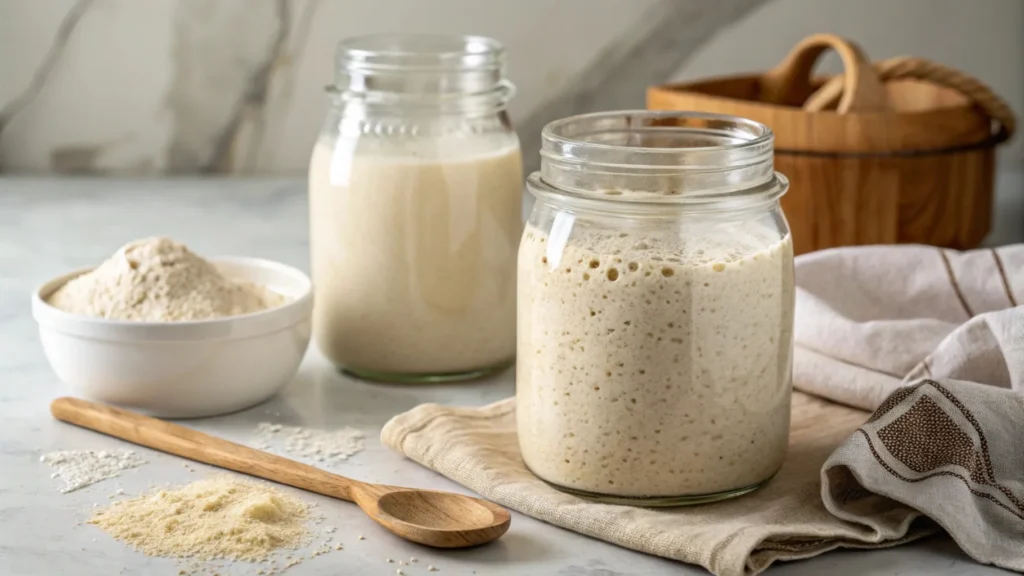
Your sourdough starter is like a living pet—it thrives on routine and consistency. Skipping feedings or using irregular feeding schedules can weaken it, leaving you with a sluggish, inactive starter that struggles to leaven your bread. What not to do with sourdough? Don’t ignore your starter for days on end without feeding it. If the starter develops a layer of gray liquid (called hooch), it’s a clear sign it’s starving. While it can be stirred back in, regular feeding prevents this issue entirely.
For best results, feed your starter daily if kept at room temperature or at least once a week if stored in the fridge. Stick to a simple ratio: equal parts flour and water. Remember, a healthy, bubbly starter is the foundation for great sourdough.

The Pitfalls of Using a Flat or Dormant Starter
A flat or dormant starter is a disaster waiting to happen. It won’t provide the strength needed for proper fermentation, leaving you with dense, under-risen bread. Before baking, make sure your starter is active—look for bubbles and a noticeable rise after feeding.
What not to do with sourdough? Never rush the process by using an untested starter. If it doesn’t pass the float test (dropping a small amount in water to see if it floats), it’s not ready to work its magic in your dough.
Common Missteps in Starter Maintenance
Some common rookie errors include using unfiltered tap water, which contains chlorine that can kill your starter’s microbes, and neglecting to discard a portion during feedings. Discards help refresh the balance of flour and water, preventing over-fermentation.
If your starter smells off—think acetone or vinegar—it’s a sign you’re feeding it too infrequently. Trust your senses. Healthy starters should smell mildly tangy and yeasty.
By treating your starter with care and avoiding these missteps, you’ll set the stage for a loaf that’s both airy and flavorful.
Errors in the Dough Preparation Process
Skipping the Autolyse Step: A Missed Opportunity
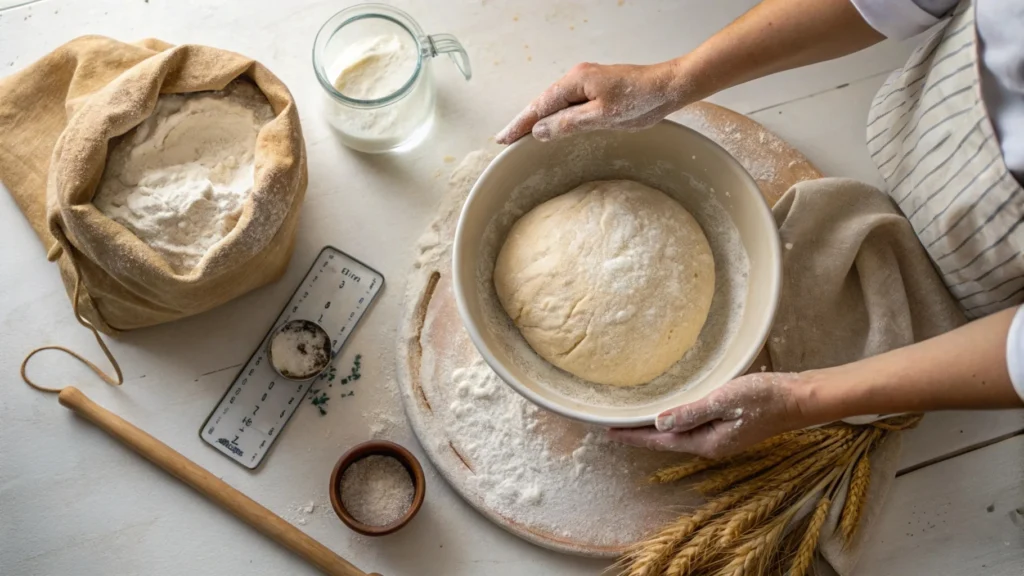
Autolyse might sound fancy, but it’s just a simple step where you mix flour and water before adding the starter or salt. This rest period allows the gluten to develop naturally, making your dough easier to handle and improving its structure. What not to do with sourdough? Don’t skip this crucial step—it can make or break the texture of your bread.
Skipping autolyse often results in dense, poorly risen loaves because the dough doesn’t have the strength to trap gases during fermentation. For just 30 minutes of extra time, you’ll notice a world of difference.

Overhydration: Understanding the Risks
Hydration levels are tricky but essential. Overhydrating your dough (adding too much water) might seem tempting because wet doughs can produce open crumbs, but they’re also challenging to work with. Dough that’s too wet will stick to everything—your hands, the bowl, and your work surface—leading to frustration and poor shaping.
When aiming for a higher hydration dough, start slow. Measure your ingredients carefully and err on the side of caution. What not to do with sourdough? Don’t rely on guesswork—precision is key.
Misjudging Flour Types or Ratios
All flours are not created equal. Using flour with insufficient protein (like all-purpose flour instead of bread flour) can lead to weak dough that collapses during baking. On the flip side, some whole grain flours absorb more water, making your dough too stiff.
Another common error is failing to mix flours evenly, resulting in inconsistent hydration. Always combine your flours thoroughly and follow tested recipes until you’re confident in adjusting ratios on your own.
Proofing Mistakes to Avoid
Under-Proofing vs. Over-Proofing: Striking the Right Balance
One of the trickiest parts of sourdough baking is getting the proofing just right. Under-proofed dough hasn’t had enough time to rise, resulting in a dense loaf that lacks flavor. On the other hand, over-proofed dough collapses, producing bread that’s flat and gummy.
What not to do with sourdough? Don’t rush the proofing process. Keep an eye on your dough as it rises. A properly proofed loaf will pass the poke test: gently press your finger into the dough, and it should spring back slowly, leaving a slight indentation. If it bounces back immediately, it needs more time; if it deflates, it’s gone too far.
How Temperature Impacts Proofing
Temperature plays a critical role in proofing success. Too cold, and the dough may not rise at all. Too warm, and you risk over-proofing before you realize it. Aim for a proofing environment around 75–80°F for best results.
If your kitchen runs cold, consider proofing in a turned-off oven with the light on or using a proofing box. Conversely, in hot climates, a cooler or a shaded spot can prevent the dough from proofing too fast.
Misjudging the Windowpane Test
The windowpane test is a simple way to check gluten development, which directly impacts proofing. Stretch a small piece of dough between your fingers—if it forms a thin, translucent sheet without tearing, you’re on the right track. Skip this step, and you might end up with dough that struggles to rise.
Baking Errors That Can Ruin Your Loaf
Not Preheating Your Oven: A Recipe for Disaster
Skipping preheating is a common rookie mistake, but it can be devastating for sourdough. The initial heat, or oven spring, is what gives your bread its rise and airy texture. What not to do with sourdough? Don’t put your dough in a cold oven. Preheat to at least 475°F to create the necessary conditions for a perfect crust.
Why Proper Scoring Matters
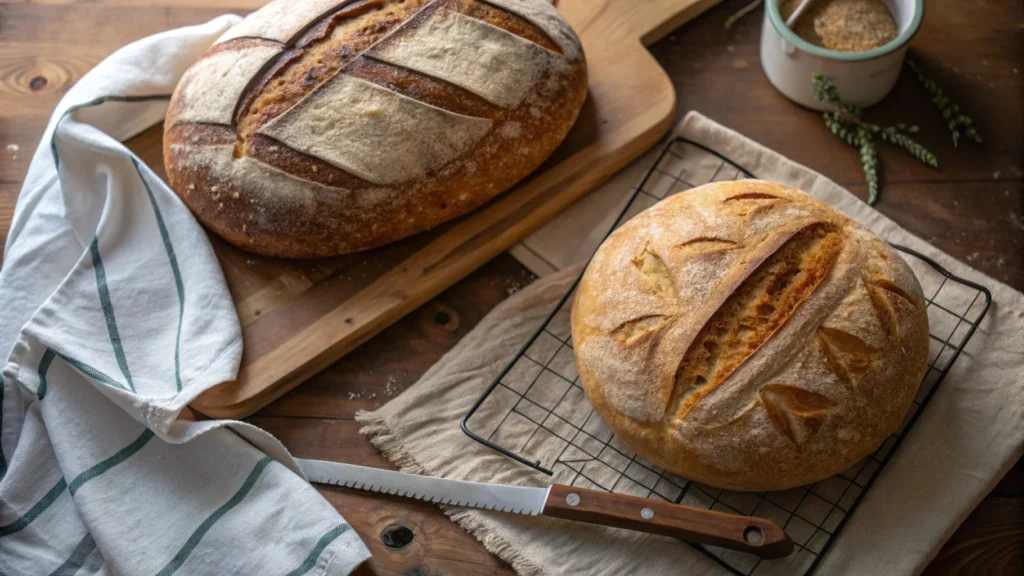
Scoring isn’t just decorative—it’s essential for controlling how your loaf expands during baking. Without it, your bread may burst unpredictably or fail to rise properly. Use a sharp blade to score confidently and deeply enough to guide the expansion.

Ignoring Steam During Baking
Steam is another critical factor in achieving a crisp, shiny crust. It prevents the crust from forming too early, allowing the bread to rise fully before setting. To create steam, add a tray of hot water to your oven or use a Dutch oven with a lid. Forget this step, and your bread may end up pale and tough.
For more sourdough inspiration, check out this recipe for sourdough garlic bread on Masterly Recipes—it’s a must-try twist on classic flavors!
Misuse of Sourdough Starter Discards
Creative Uses for Starter Discards
Discarding a portion of your sourdough starter during feeding might feel wasteful, but it doesn’t have to be! Starter discards are packed with flavor and can be used to make pancakes, waffles, crackers, or even cookies. Incorporating these tangy remnants into recipes not only prevents waste but also adds a unique twist to your cooking.
What not to do with sourdough? Don’t toss your discard in the trash without thinking. Instead, turn it into a delicious creation. For example, try using it in a sourdough garlic bread recipe to Improve the taste with a subtle sour note.
Mistakes When Incorporating Discards in Recipes
While discards are versatile, there are a few pitfalls to avoid. Using overly fermented discard can make your dish taste bitter or overly acidic. Always check the smell and texture before use—it should have a mild tang and be free from unusual odors. Additionally, don’t assume you can substitute discard directly for fresh starter in every recipe. Its lower activity level may not produce the same results in baked goods.
Avoid these mistakes, and you’ll transform what might seem like a kitchen byproduct into a star ingredient.
FAQS
What is the biggest mistake you can make with your sourdough starter?
The biggest mistake is neglecting your starter. Irregular feedings or using unfiltered tap water can kill the wild yeast, leaving you with a lifeless mixture.
When should you not eat sourdough bread?
Avoid eating sourdough if it shows mold, has an unpleasant odor, or appears discolored. These are signs it’s gone bad and is unsafe to consume.
What is the disadvantage of sourdough bread?
Sourdough requires time and patience, making it less convenient for those looking for quick results. Additionally, its tangy flavor may not appeal to everyone.
Why does sourdough fail?
Sourdough fails due to issues like an inactive starter, poor hydration balance, or under-proofing. Paying attention to every step of the process is key to avoiding failure.
Tips for Success and Avoiding Common Pitfalls
Essential Tools Every Baker Should Have
Having the right tools can make a world of difference in your sourdough journey. A digital scale is non-negotiable for precise measurements, while a quality bench scraper simplifies dough handling. A banneton basket helps shape the loaf, and a sharp lame Secures clean, even scoring.
What not to do with sourdough? Don’t underestimate the importance of proper equipment. For instance, using a dull knife instead of a lame can lead to jagged scoring, which might cause your loaf to expand unevenly in the oven. Investing in these essentials will make the process smoother and more enjoyable.
Why Patience Is Key in Avoiding Sourdough Troubleshooting
Sourdough baking is as much about patience as it is about precision. Rushing through steps like autolyse or proofing often results in dense or gummy bread. Similarly, eyeballing ingredients can throw off hydration levels, leading to frustrating outcomes.
Take your time and measure carefully. If a recipe says to let the dough rest for an hour, resist the urge to cut corners. Small efforts like these can Promote your baking game and help you avoid those all-too-common sourdough disasters.
Conclusion: Your Path to Sourdough Success
What Not to Do with Sourdough: Key Takeaways
Mastering sourdough is a rewarding process, but it requires attention to detail and a willingness to learn from mistakes. Throughout this guide, we’ve highlighted what not to do with sourdough at every stage, from starter maintenance to baking.
By avoiding common pitfalls—like neglecting your starter, skipping autolyse, or misjudging proofing—you’ll save yourself time and frustration. More importantly, you’ll consistently bake bread that’s airy, flavorful, and beautifully golden.
Final Tips for Avoiding Common Sourdough Errors
Remember, sourdough baking is an art that improves with practice. Every failed loaf is a step closer to mastering the craft. Keep experimenting, trust the process, and don’t be afraid to make adjustments based on what works best for you.
Ready to get started? discover our recipe for sourdough garlic bread and take your baking to the next level. You’ve got this!

